Most homeowners have never watched a roof being replaced and have no idea what the process actually involves. That is completely normal. But going in without any understanding of what to expect can make the experience more stressful than it needs to be.
Here is what happens during a full roof replacement from start to finish.
Stage 1: Inspection and Quote
Before any work starts, a licensed roof plumber inspects the existing roof. This covers the roof surface itself, the underlying battens and rafters, the gutters, valleys, flashings and any penetrations like skylights, whirlybirds or pipes.
The inspection determines whether the existing structure can support the new roof without additional work. If rafters are damaged or battens are rotten, that needs to be addressed as part of the job. A quote that does not factor in the structure may change once work starts and those issues become visible.
A thorough inspection upfront means fewer surprises mid-job.
Stage 2: Preparing the Site
On the day work begins, the site is prepared before any materials go up. This includes protecting gutters and gardens beneath the work area, setting up scaffolding if required for safety on steeper pitches, and organising the skip or waste removal for the old roofing material.
If you have a tile roof being removed, the weight of material coming off is considerable. Skip bins are typically positioned close to the house to manage this efficiently.
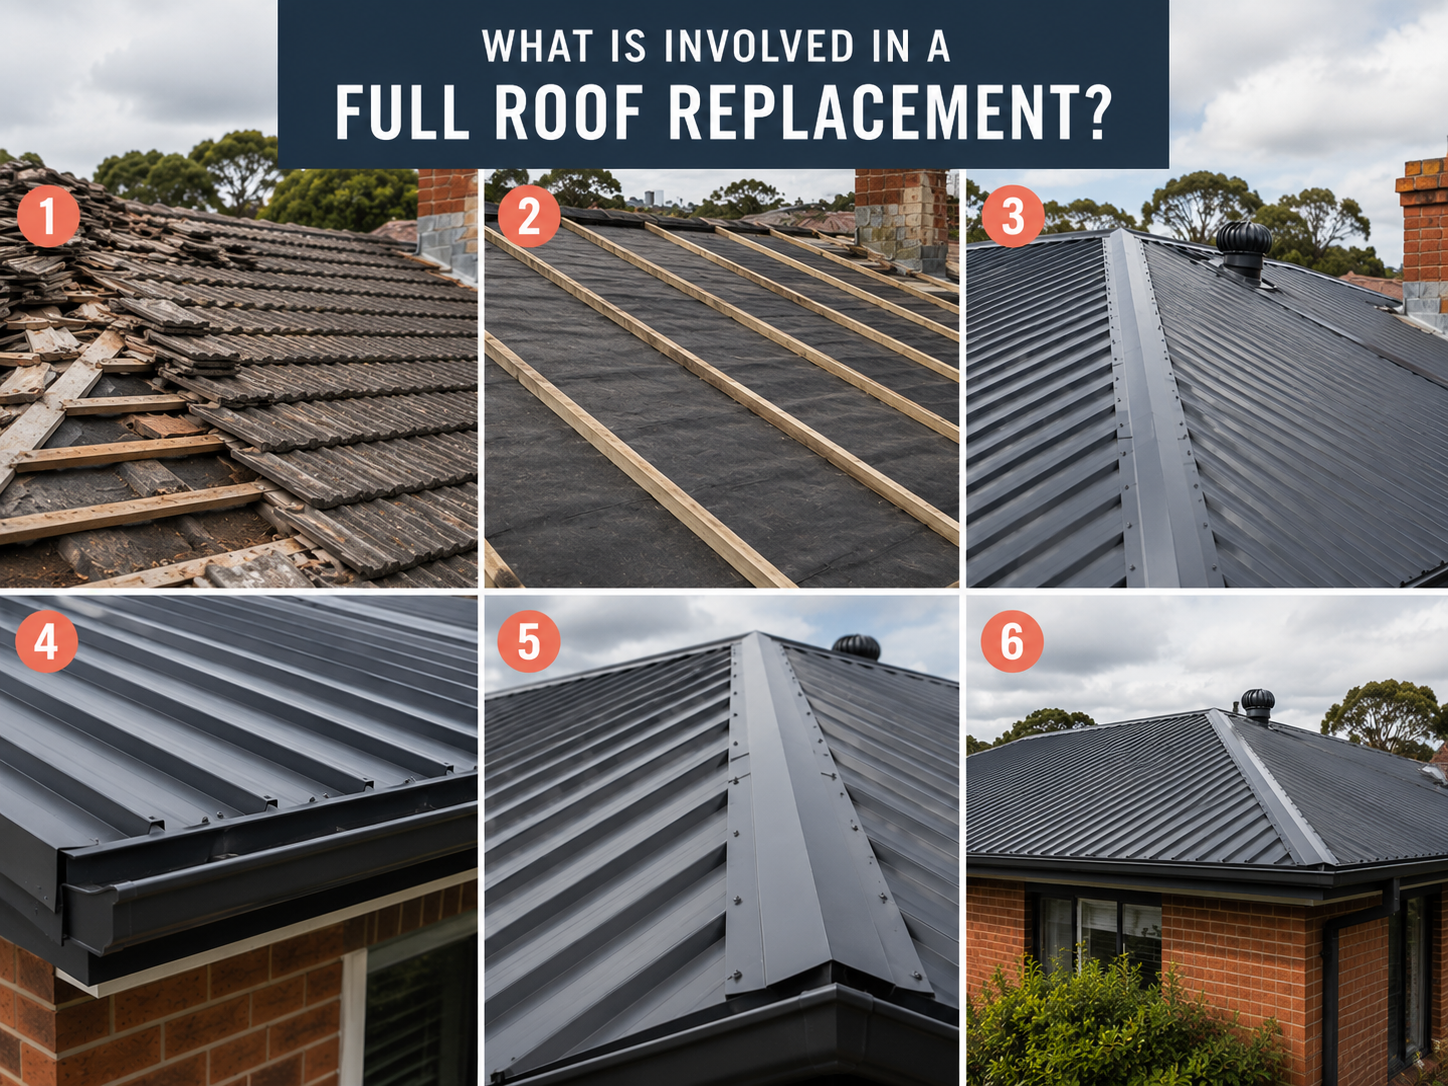
Stage 3: Stripping the Old Roof
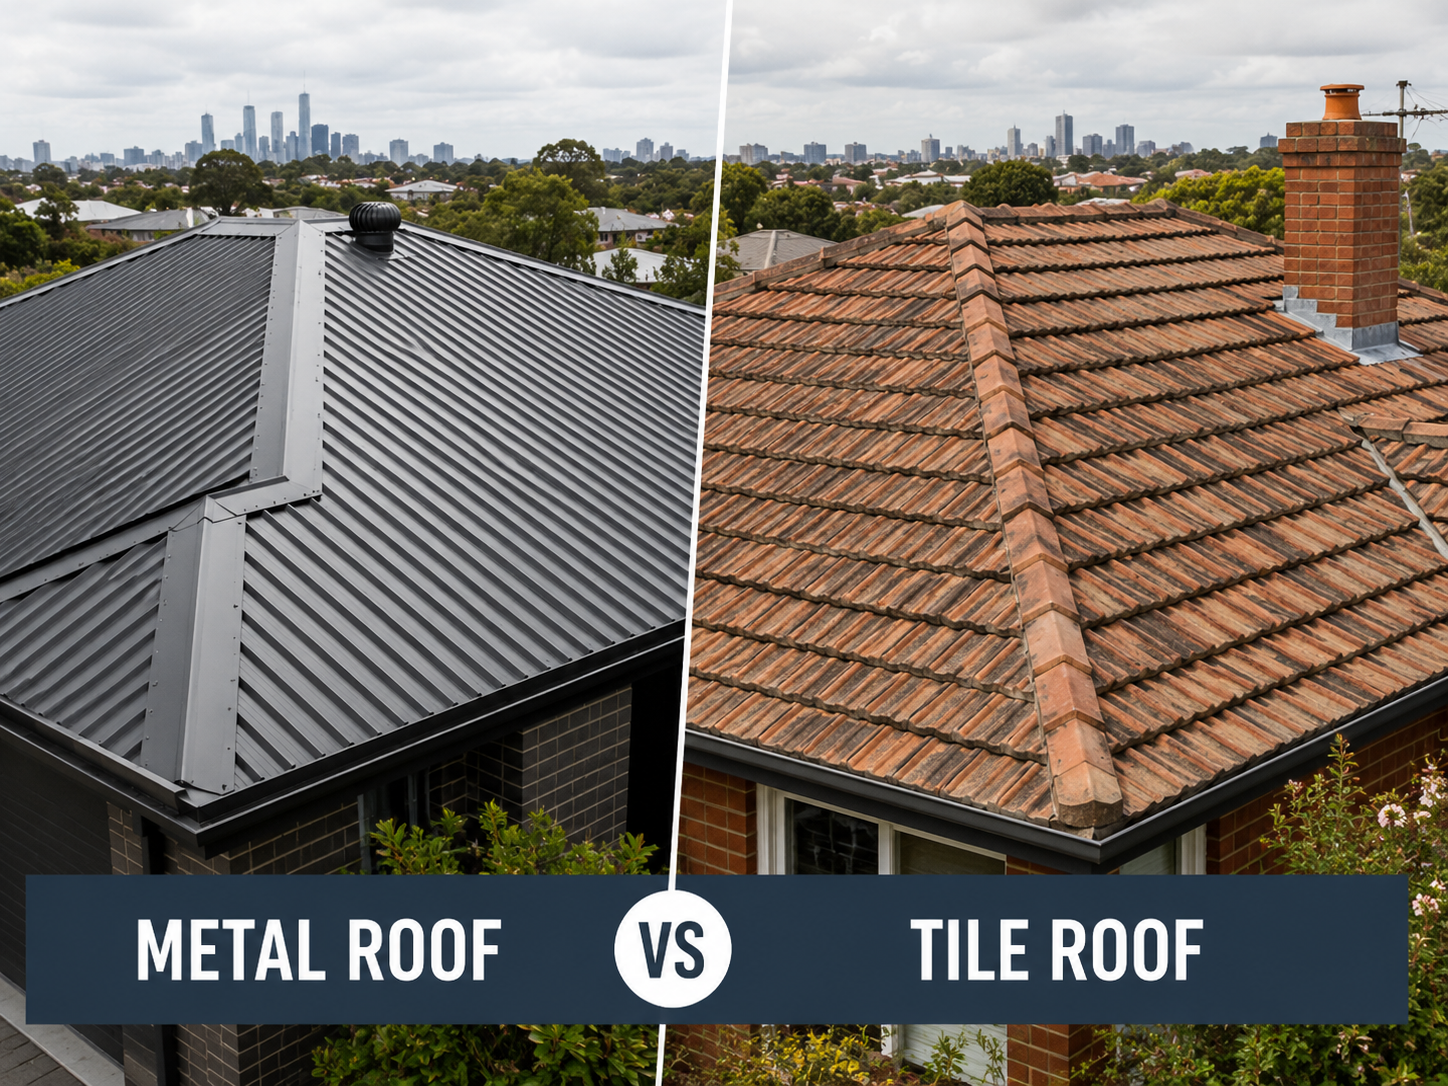
The existing roofing material is removed down to the battens. For tile roofs, this means lifting and disposing of every tile. For older metal roofs, the existing sheets are removed.
Once the old material is off, the battens and rafters are fully visible and any underlying damage that was not accessible during the inspection can be identified and repaired before the new roof goes on.
Stage 4: Installing the Sarking
Sarking is a reflective foil membrane laid over the rafters before the battens and new roofing are installed. It is a thermal and moisture barrier that reduces heat transfer in summer and prevents condensation from affecting the roof structure. In Melbourne, sarking is considered best practice and is required under the National Construction Code for new builds.
On a re-roof, installing sarking during the job adds cost but is worth doing. It is much more difficult and expensive to retrofit later.
Stage 5: Battens and New Roofing
New roof battens are fixed to the rafters at the correct spacing for the chosen roofing product. For Colorbond metal roofing, the sheets are then fixed to the battens using appropriate fasteners rated for the wind zone. Proper fastener spacing and type matters for both weatherproofing and compliance.
Ridge caps, hip cappings, valleys and flashings are installed as the job progresses, not as an afterthought at the end. These are the intersections where water management is most critical.
Stage 6: Gutters and Drainage
A re-roof is the right time to replace ageing gutters. With the old roof stripped, gutter replacement is more accessible and efficient than doing it as a standalone job later. New Colorbond gutters and fascia can be installed to match the new roof colour and set the correct fall toward the downpipes.
Downpipes are checked for condition and replaced if needed. This is also the stage where any rainwater tank connections are made if applicable.
Stage 7: Clean-Up and Inspection
Once the new roof is installed, the site is cleaned and all waste material is removed. The completed roof is then inspected to confirm flashings are sealed, fixings are correct, ridges and valleys are watertight, and the finish meets the standard the client was quoted.
A good roofing contractor walks the job with the homeowner at completion so any questions can be answered on the spot.
How Long Does a Roof Replacement Take?
For a standard single-storey house in Melbourne, a full Colorbond re-roof typically takes two to four days. Larger homes, steeper pitches, or additional work on the structure can extend this. Wet weather will also affect the timeline.